A Beginner’s Guide to Repotting Without Killing Your Plant
Repotting your houseplant can seem intimidating, especially if you’re new to plant care. You might worry about damaging the roots, choosing the wrong pot, or even accidentally killing the plant. But rest assured, repotting is a natural part of keeping your plant healthy and growing. With the right approach and some basic understanding, it’s a straightforward process that can greatly benefit your plant’s long-term wellbeing.
Why Repotting Matters
Plants grow over time, and eventually, their roots outgrow the pot they’re in. When this happens, the plant becomes root-bound, which means the roots are tightly packed and may begin circling the pot’s interior. This limits the plant’s ability to absorb water and nutrients. Repotting gives the plant more space to grow and access fresh, nutrient-rich soil, promoting healthier growth and longer life.
Signs Your Plant Needs Repotting
Not sure if it’s time to repot? Here are some signs to watch for:
-
Roots are growing out of the drainage holes.
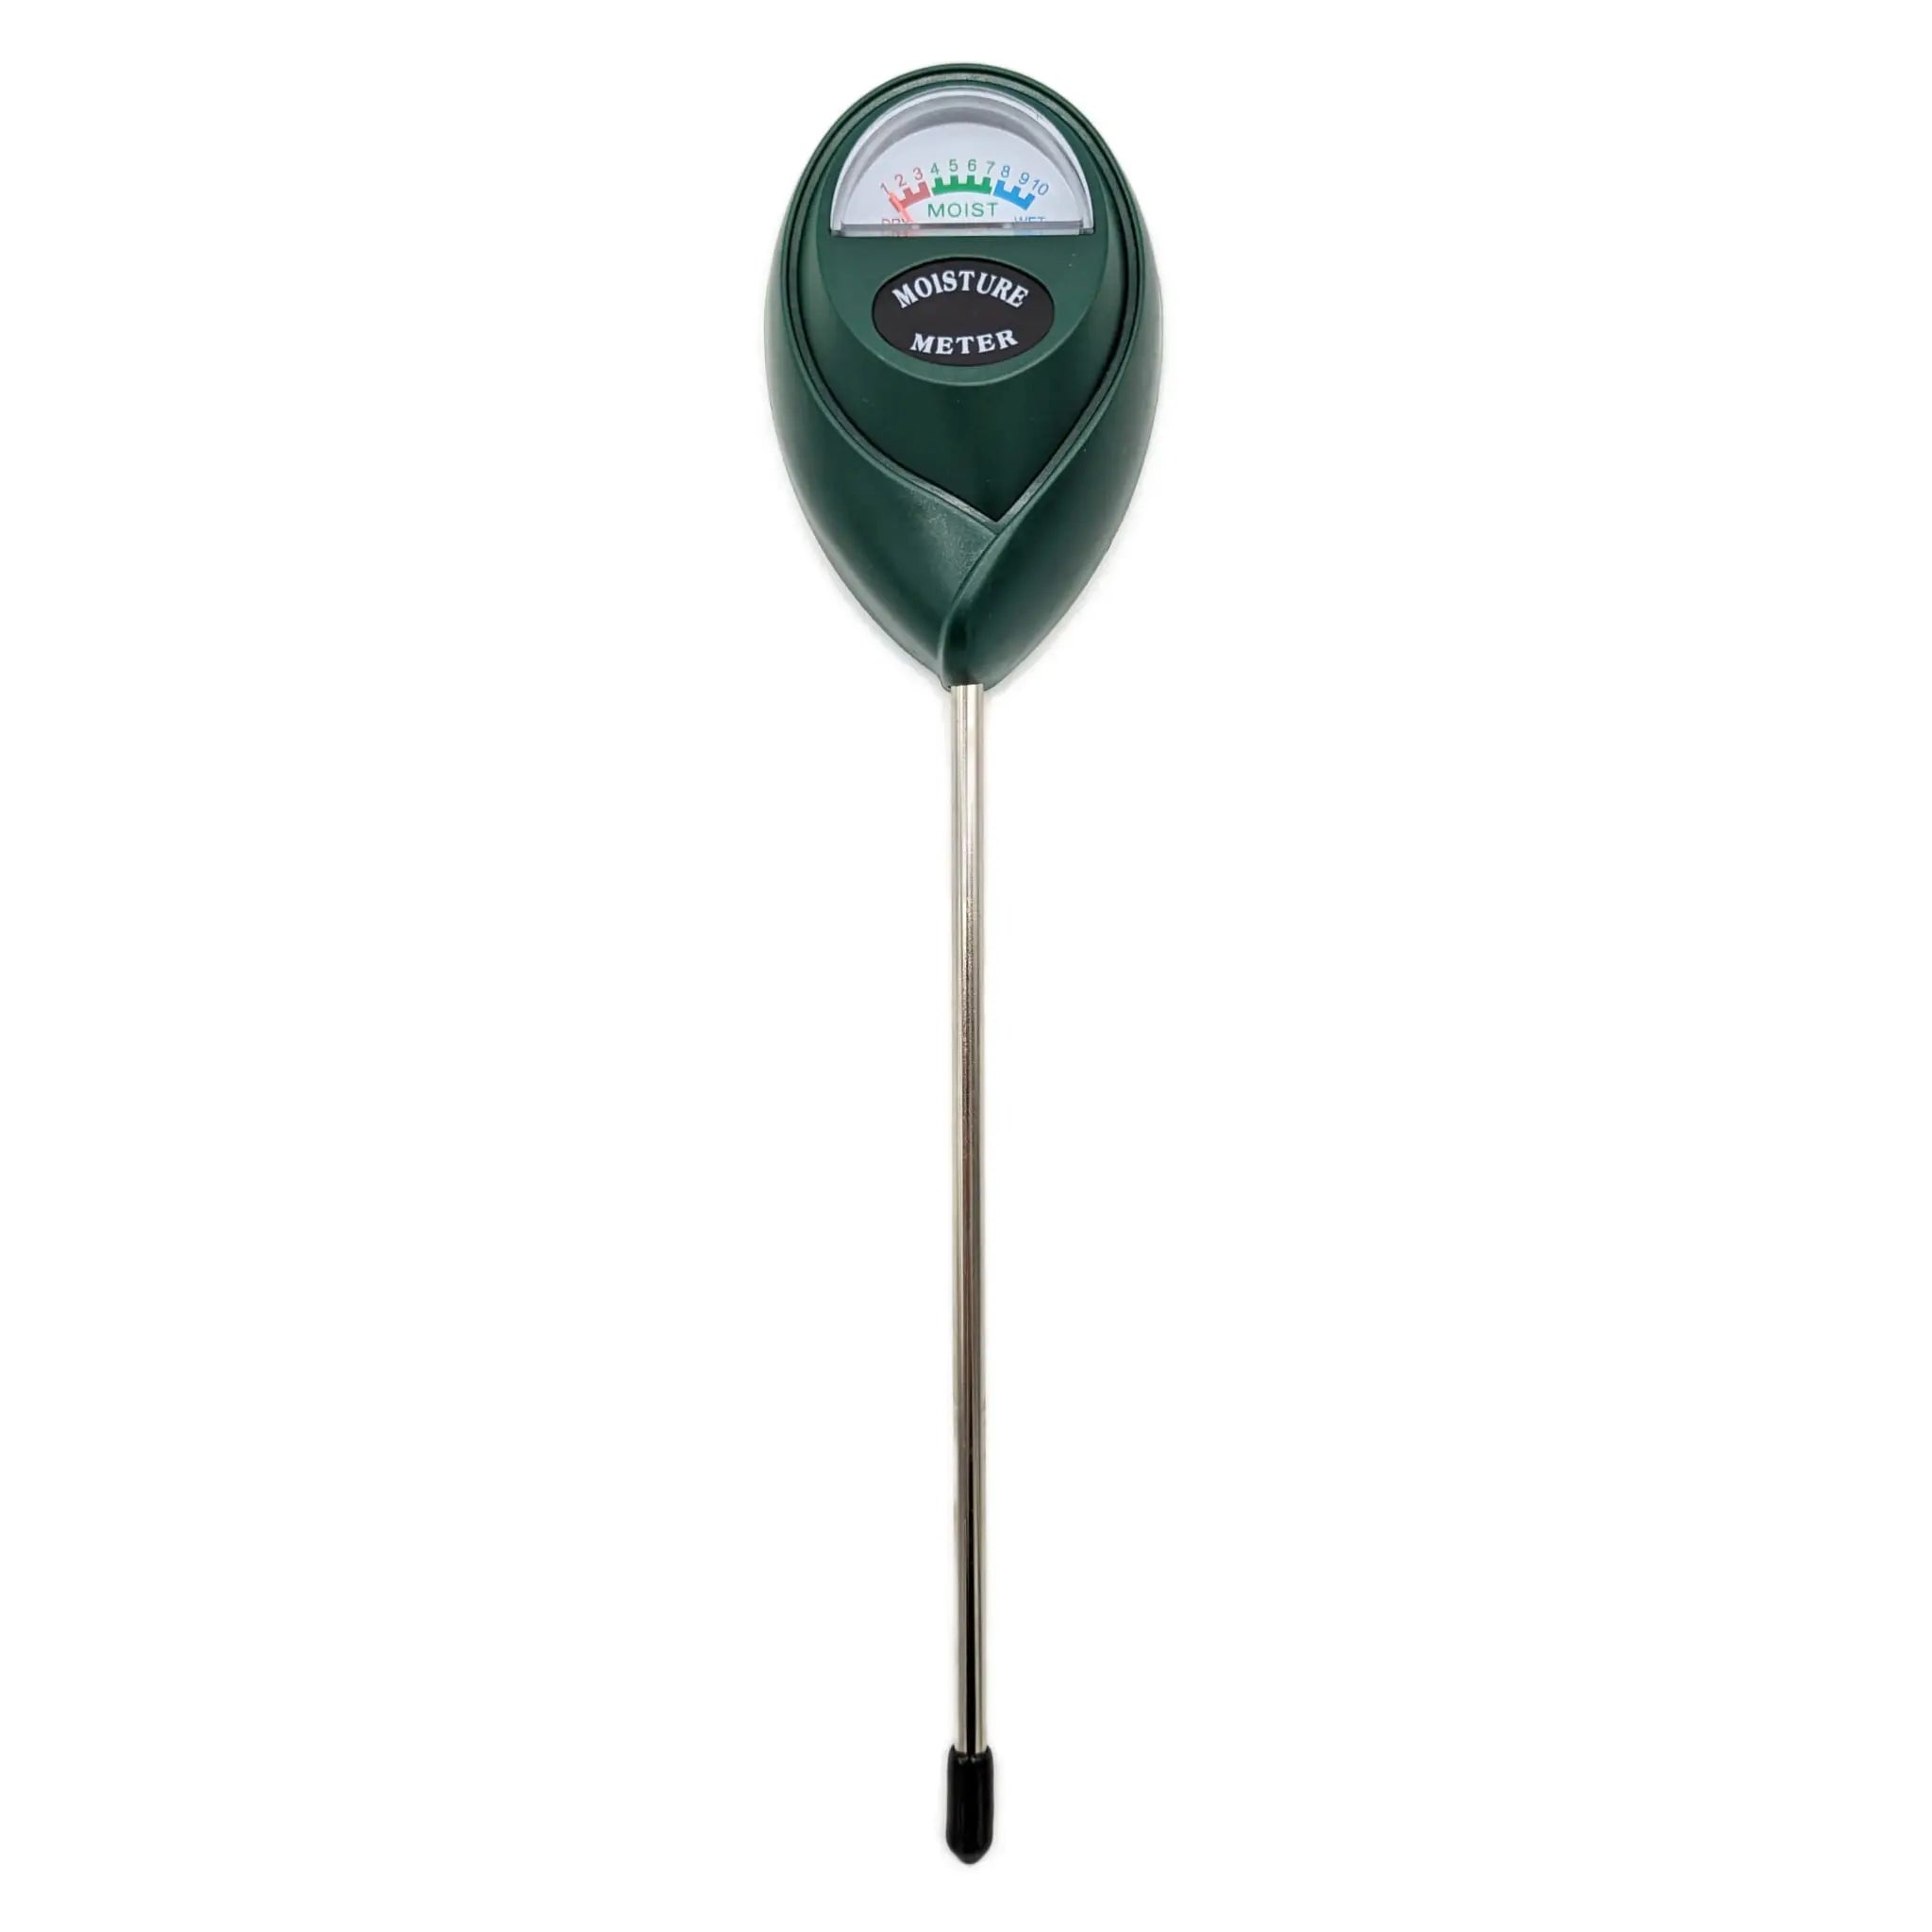
-
The plant dries out quickly after watering.
-
Growth has slowed or stopped altogether.
-
The plant is top-heavy or tipping over.
-
You see salt or mineral buildup on the soil surface.
If you notice any of these signs, your plant is likely ready for a new pot.
Choosing the Right Pot
When selecting a new pot, there are a few key things to keep in mind:
-
Size: Go only one size up—about 1 to 2 inches wider in diameter than the current pot. A pot that’s too big can hold excess water, leading to root rot.
-
Material: Clay pots are breathable and great for plants that prefer drier conditions. Plastic pots retain moisture longer and are more lightweight.
-
Drainage: Drainage holes are non-negotiable. Without them, excess water gets trapped, which can quickly lead to overwatering and root issues.
Essential Tools and Supplies
Before you start, gather the following tools and materials:
-
A new pot with drainage holes
-
Fresh, well-draining potting mix suitable for your plant type
-
Trowel or small shovel
-
Watering can
-
Scissors or pruning shears (for trimming roots or leaves if necessary)
-
A saucer or tray for catching water
Having everything ready in advance will make the process smoother and less stressful.
Step-by-Step Guide to Repotting
1. Prepare the New Pot
Add a layer of fresh potting mix to the bottom of the new pot. This base layer should be thick enough to raise the plant to its previous height.
2. Remove the Plant
Gently take the plant out of its current pot. You may need to tap the sides of the pot or squeeze it slightly if it’s made of plastic. Be careful not to pull too hard on the stem.
3. Loosen the Roots
Inspect the root ball. If the roots are tightly wound, gently tease them apart with your fingers. This encourages them to grow outward into the new soil rather than continuing to spiral.
4. Trim If Needed
If any roots appear dead, mushy, or black, trim them with clean scissors. You can also remove some excess soil if it’s compacted or looks unhealthy.
5. Position the Plant
Place the plant in the center of the new pot, ensuring that the top of the root ball sits about an inch below the rim. Fill in around the roots with fresh potting mix, pressing lightly to eliminate air pockets.
6. Water Thoroughly
Water the plant until excess moisture drains from the bottom. This helps settle the soil and gives the plant a good start in its new home.
7. Place on a Saucer
Set the pot on a saucer or tray to catch any draining water and protect your surfaces.
Post-Repotting Care
Your plant may look a bit droopy after repotting. This is normal. It’s adjusting to the new environment and may need a little time to settle in.
Here’s how to care for your plant after repotting:
-
Light: Return the plant to a location with appropriate light. Avoid harsh direct sunlight for a few days.
-
Watering: Allow the top inch of soil to dry out before watering again. Overwatering too soon after repotting can stress the plant.
-
Humidity: Some plants benefit from a humidity boost during this time. You can mist the leaves or use a humidity tray.
-
No Fertilizer Yet: Wait at least a month before adding fertilizer. The new soil usually contains nutrients, and fertilizing too soon can shock the plant.
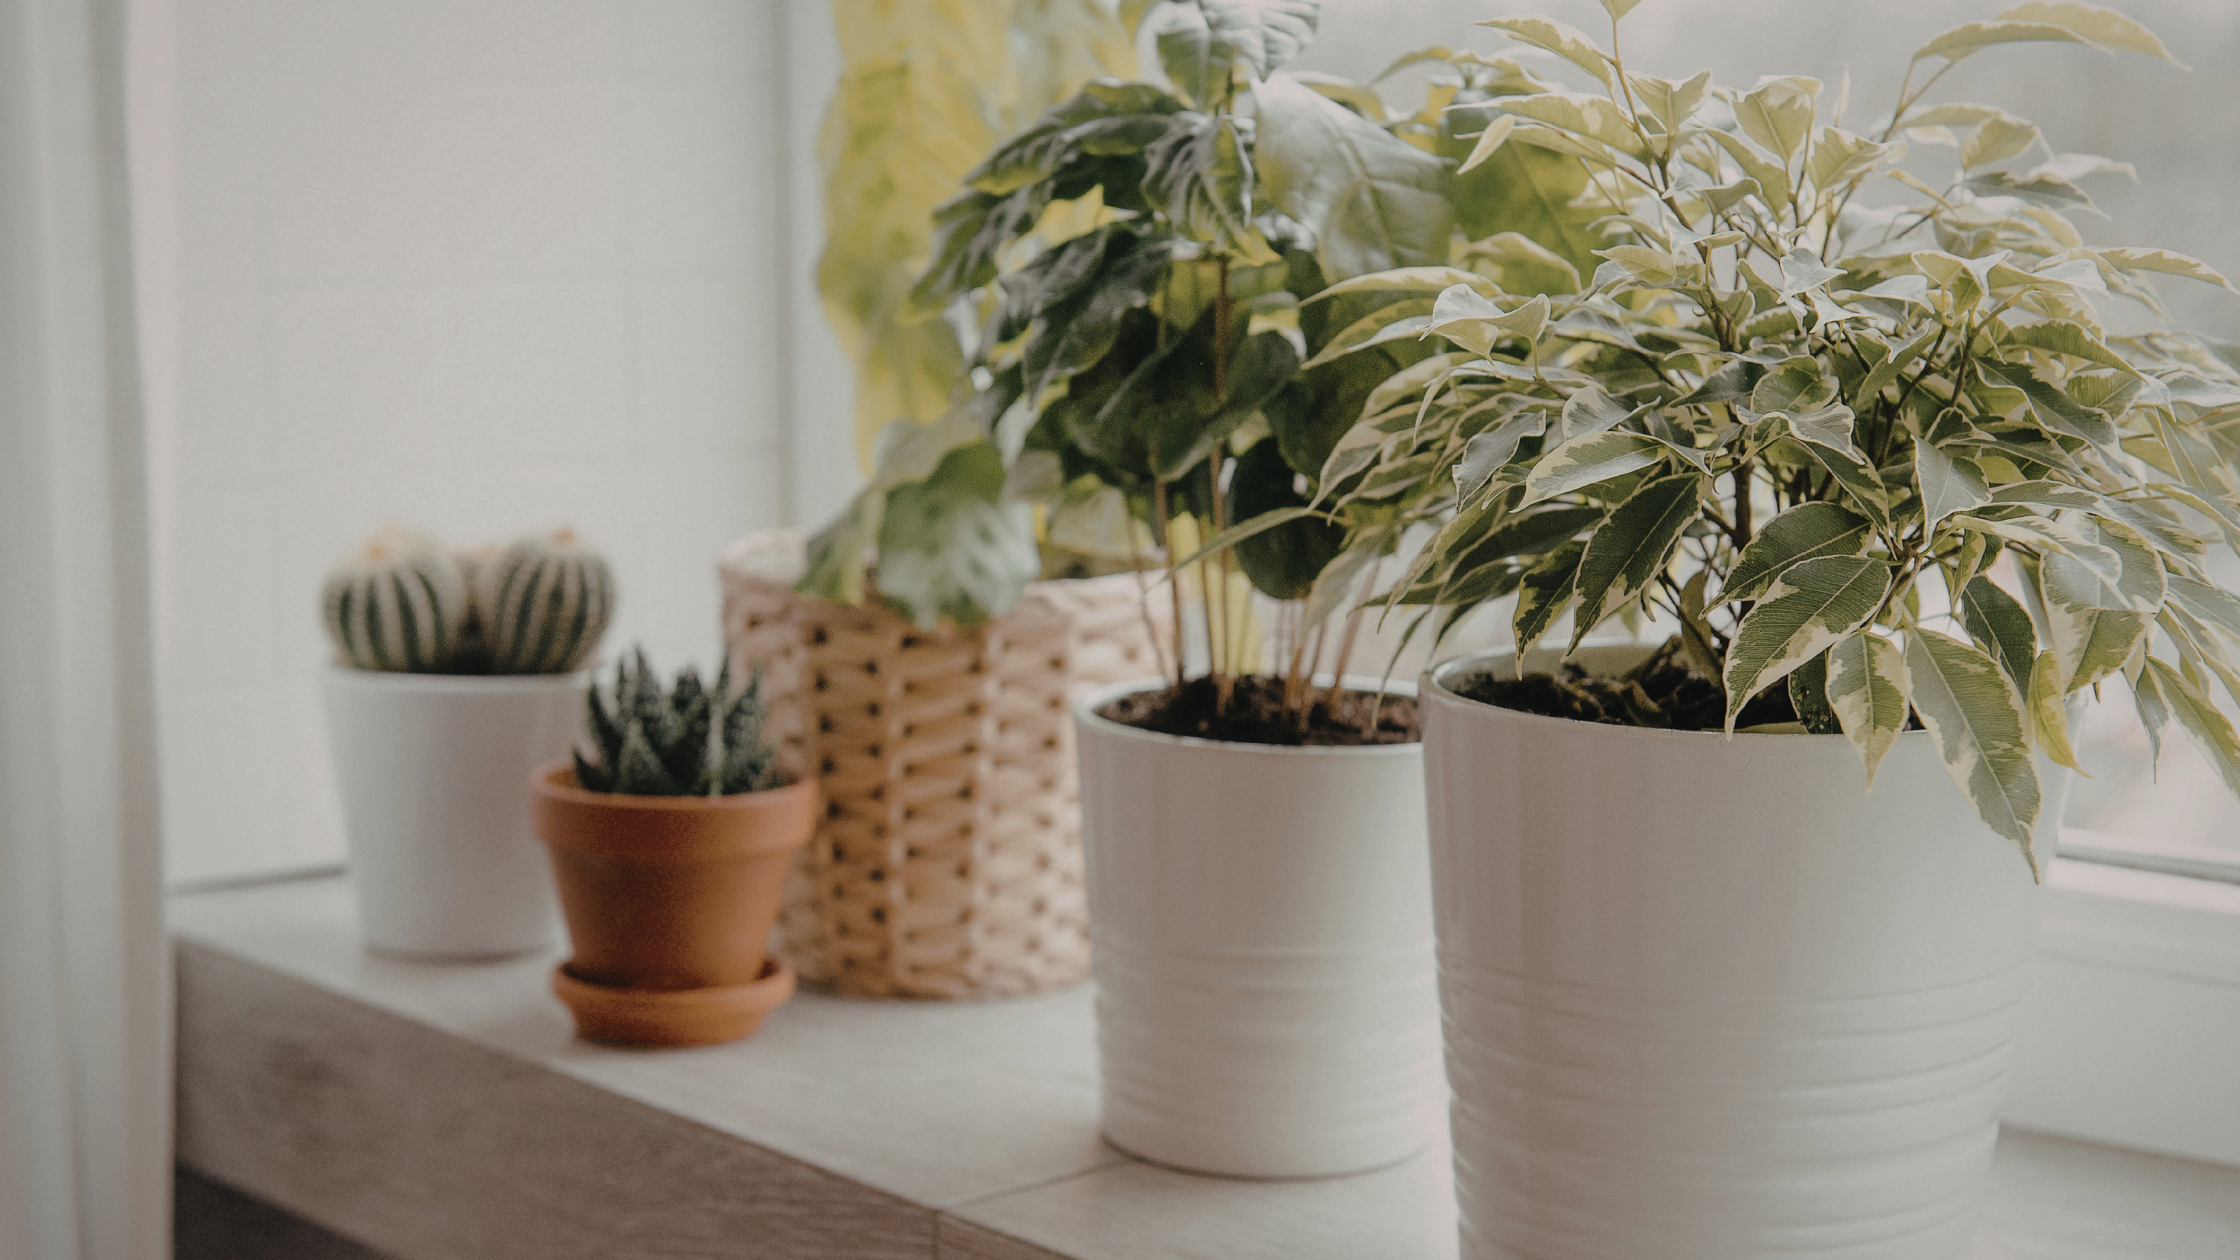
Arranging Indoor Pots Aesthetically
Once your plant is repotted, think about how it fits into your space. A few design tips:
-
Group similar plants together. This not only looks nice but also helps with consistent care since grouped plants can share humidity.
-
Play with height. Use plant stands, hanging pots, and shelves to create layers.
-
Lighting matters. Position your plants where they’ll receive the right amount of light for their species.
-
Accessibility: Keep your plants easy to reach so you can water and tend to them without hassle.
Common Repotting Mistakes to Avoid
To give your plant the best chance of thriving, steer clear of these common errors:
-
Using a pot that’s too large. Extra soil holds too much water, risking root rot.
-
Skipping drainage holes. Always ensure your pots can drain.
-
Rough root handling. Be gentle when teasing or trimming roots.
-
Overwatering. New soil retains moisture differently. Adjust your watering schedule accordingly.
-
Ignoring plant-specific needs. Use the right soil and pot for your plant type.
Choosing the Right Soil
Not all soil is the same. Use a potting mix suited to your plant. For example:
-
Cactus and succulents need fast-draining, gritty soil.
-
Tropical houseplants prefer rich, moisture-retaining mixes with peat or coco coir.
-
Orchids require chunky, bark-based media for air flow around the roots.
Avoid garden soil indoors, as it’s too dense and can harbor pests or diseases.
Repotting doesn’t have to be stressful or complicated. With patience, gentle care, and the right steps, you can successfully give your houseplant a fresh start. Whether you’re dealing with a root-bound beauty or simply refreshing old soil, this essential plant care ritual will help your green friend thrive for years to come. Happy potting!